In this article i will show you how to bind custom entity class to stored procedure result (DataContext Method) by using Linq to SQL.
The return type of a DataContext method (created based on a stored procedure or function) differs depending on where you drop the stored procedure or function in the O/R Designer.
There are two way to binding custom entity class to Stored Procedures result(DataContext Method).
Method 1
First create a Custom entity class and drop stored procedure directly onto an Custom entity class, a DataContext method that has the return type of the custom entity class is created (if the schema of the data returned by the stored procedure or function matches the shape of the entity class).
Method 2
If you drop an item onto an empty area of the O/R Designer, a DataContext method that returns an automatically generated type is created. You can change the return type of a DataContext method after you add it to the methods pane.change the return type of a DataContext method, select it and click the Return Type property in the Properties window.
Today i demonstrates second method.
Let see how can we bind custom entity class.
Step 1
Download Northwind database from the following link.
http://www.microsoft.com/downloads/details.aspx?FamilyID=06616212-0356-46a0-8da2-eebc53a68034&displaylang=en
Note : For SQL Server 2012 User,Download Northwind database from the following link
http://businessimpactinc.com/install-northwind-database/
Step 2
Attach Northwind database into MS-SQL server.
Note: For SQL Server 2012 User follow the instruction from above given website(Second Link) to attach database in MS-SQL Server 2012.
Step 3
Let's create a stored procedures which return the data,here we calculate count of per category of Products
Step 4
Create a ASP.net empty web site and give the solution name as SolCustomClass_LinqToSQL.
Step 5
Add App_Code folder in the solution and add a New Folder inside the App_Code folder and give folder name as ORD,it is look like this


Click on Image for better View
Step 7
Open a O/R Designer by double click on NorthwindDC.dbml,it is look like this

Click on Image for better View

Click on Image for better view.
Visual studio provides an object-relational mapping designer,called the O/R Designer which allows you to visually design the object to database mapping.
Step 8
To map stored procedure in DataContext class.go to the server explorer,select northwind database,go to the Stored Procedure and select SpGetProductCount stored procedure ,it is look like this

Click on Image for better view.
Drag and drop Stored Procedures from Server explorer onto the design surface of the O/R Designer,it is look like this

Click on Image for better view.
Step 9
Add a new Custom Entity class called CategorySummary using right click on O/R designer Panel,it is look like this

Click on Image for better view.
Add properties,Right click on class and Add Property,it is look like this
Click on Image for better view.
Here our Custom Entity Class ready
 Click on Image for better view.
Now change the datatype of ProductCount Property from System.String to System.Int32,by default data type is System.String,Right Click on ProductCount Property and Select Properties.On Properties window,Select Type and change data type from String to Int,it is look like this

Click on Image for better view.
Step 10
Now bind the Stored Procedure with custom entity class,Right-click on the stored procedure and click on properties and select custom entity class name in ReturnType,it is look like this

Click on Image for better view.
Step 11
Create a Categories Static Class for calculate count of per category of Product,it is look like this
Step 12
Now Add a Default.aspx Page in the solution and drag and drop GridView Control on Page,it is look like this

Click on Image for better view.
Step 13
Bind data to DataGrid View,it is look like this
Run the Project.
Full .ASPX Code
Output
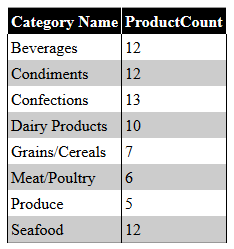
Click on Image for better view.
Download
Download Source Code
The return type of a DataContext method (created based on a stored procedure or function) differs depending on where you drop the stored procedure or function in the O/R Designer.
There are two way to binding custom entity class to Stored Procedures result(DataContext Method).
Method 1
First create a Custom entity class and drop stored procedure directly onto an Custom entity class, a DataContext method that has the return type of the custom entity class is created (if the schema of the data returned by the stored procedure or function matches the shape of the entity class).
Method 2
If you drop an item onto an empty area of the O/R Designer, a DataContext method that returns an automatically generated type is created. You can change the return type of a DataContext method after you add it to the methods pane.change the return type of a DataContext method, select it and click the Return Type property in the Properties window.
Today i demonstrates second method.
Let see how can we bind custom entity class.
Step 1
Download Northwind database from the following link.
http://www.microsoft.com/downloads/details.aspx?FamilyID=06616212-0356-46a0-8da2-eebc53a68034&displaylang=en
Note : For SQL Server 2012 User,Download Northwind database from the following link
http://businessimpactinc.com/install-northwind-database/
Step 2
Attach Northwind database into MS-SQL server.
Note: For SQL Server 2012 User follow the instruction from above given website(Second Link) to attach database in MS-SQL Server 2012.
Step 3
Let's create a stored procedures which return the data,here we calculate count of per category of Products
CREATE PROCEDURE [dbo].[SpGetProductCount]
AS

 SELECT Categories.CategoryName,COUNT(*) as 'ProductCount'
  FROM Categories
   INNER JOIN
    Products
     ON Categories.CategoryID=Products.CategoryID
  GROUP BY Categories.CategoryName
  ORDER BY Categories.CategoryName ASC
Step 4
Create a ASP.net empty web site and give the solution name as SolCustomClass_LinqToSQL.
Step 5
Add App_Code folder in the solution and add a New Folder inside the App_Code folder and give folder name as ORD,it is look like this

Click on Image for better View
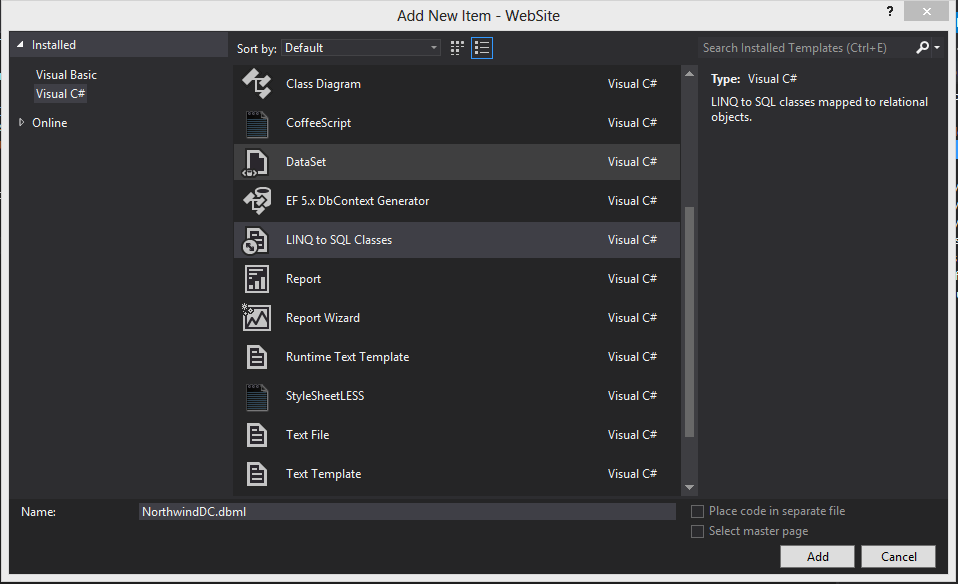
Step 6
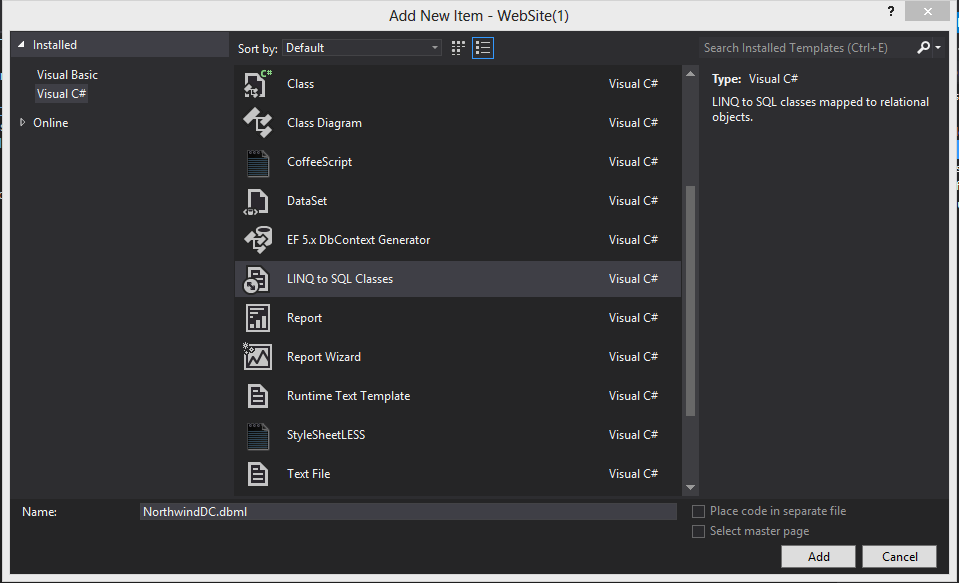
Add a Linq to Sql class,Select the ORD folder,right click on Add new Item,select LINQ to SQL classes from installed Visual Studio templates and name it NorthwindDC and click on add button,it is look like this
Step 7
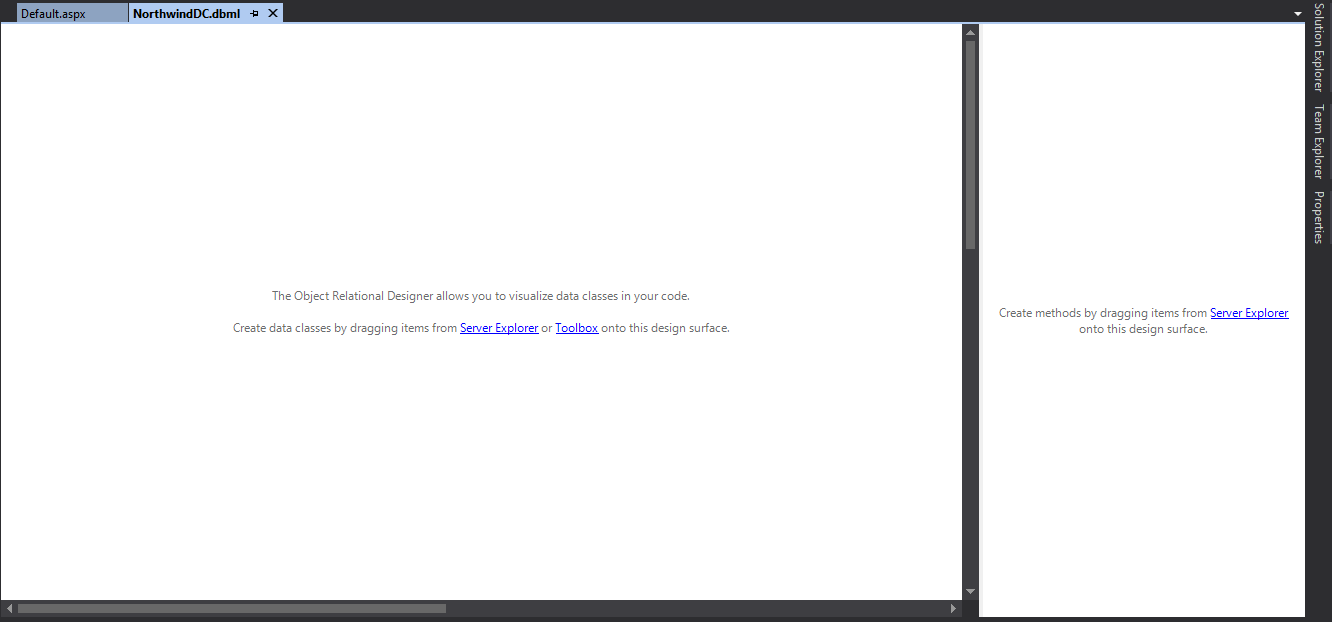
Open a O/R Designer by double click on NorthwindDC.dbml,it is look like this
Click on Image for better View

Click on Image for better view.
Visual studio provides an object-relational mapping designer,called the O/R Designer which allows you to visually design the object to database mapping.
Step 8
To map stored procedure in DataContext class.go to the server explorer,select northwind database,go to the Stored Procedure and select SpGetProductCount stored procedure ,it is look like this

Click on Image for better view.
Drag and drop Stored Procedures from Server explorer onto the design surface of the O/R Designer,it is look like this

Click on Image for better view.
Step 9
Add a new Custom Entity class called CategorySummary using right click on O/R designer Panel,it is look like this

Click on Image for better view.
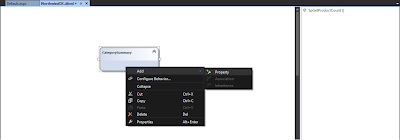
Add properties,Right click on class and Add Property,it is look like this

Click on Image for better view.
Here our Custom Entity Class ready

Now change the datatype of ProductCount Property from System.String to System.Int32,by default data type is System.String,Right Click on ProductCount Property and Select Properties.On Properties window,Select Type and change data type from String to Int,it is look like this

Click on Image for better view.
Step 10
Now bind the Stored Procedure with custom entity class,Right-click on the stored procedure and click on properties and select custom entity class name in ReturnType,it is look like this

Click on Image for better view.
Step 11
Create a Categories Static Class for calculate count of per category of Product,it is look like this
using System;
using System.Collections.Generic;
using System.Linq;
using System.Web;

/// <summary>
/// Summary description for Categories
/// </summary>
public static class Categories
{
    #region Method

    /// <summary>
    /// Get Count per category of Product
    /// </summary>
    /// <returns>List</returns>
    public static List<ORD.CategorySummary> GetProductCountData()
    {
        try
        {
            // Create a Instance of NorthwindDCDataContext
            ORD.NorthwindDCDataContext DC = new ORD.NorthwindDCDataContext();

            // return data
            return DC.SpGetProductCount().ToList<ORD.CategorySummary>();
        }
        catch (Exception ex)
        {
            throw new Exception(ex.Message);
        }
    }

    #endregion
}
Step 12
Now Add a Default.aspx Page in the solution and drag and drop GridView Control on Page,it is look like this
<body>
    <form id="form1" runat="server">
    <div>
        <asp:GridView ID="gvProductCount" runat="server" AutoGenerateColumns="False" BackColor="White" BorderColor="#999999" BorderStyle="Solid" BorderWidth="1px" CellPadding="3" ForeColor="Black" GridLines="Vertical">
            <AlternatingRowStyle BackColor="#CCCCCC" />
            <Columns>
                <asp:BoundField DataField="CategoryName" HeaderText="Category Name" />
                <asp:BoundField DataField="ProductCount" HeaderText="ProductCount" />
            </Columns>
            <FooterStyle BackColor="#CCCCCC" />
            <HeaderStyle BackColor="Black" Font-Bold="True" ForeColor="White" />
            <PagerStyle BackColor="#999999" ForeColor="Black" HorizontalAlign="Center" />
            <SelectedRowStyle BackColor="#000099" Font-Bold="True" ForeColor="White" />
            <SortedAscendingCellStyle BackColor="#F1F1F1" />
            <SortedAscendingHeaderStyle BackColor="#808080" />
            <SortedDescendingCellStyle BackColor="#CAC9C9" />
            <SortedDescendingHeaderStyle BackColor="#383838" />
        </asp:GridView>
    </div>
    </form>
</body>
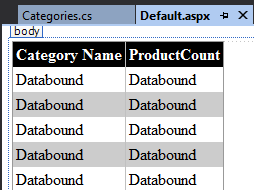
Click on Image for better view.
Step 13
Bind data to DataGrid View,it is look like this
using System;
using System.Collections.Generic;
using System.Linq;
using System.Web;
using System.Web.UI;
using System.Web.UI.WebControls;

public partial class _Default : System.Web.UI.Page
{
    protected void Page_Load(object sender, EventArgs e)
    {
        if (IsPostBack == false)
        {
            try
            {
                BindGridView();
            }
            catch (Exception)
            { }
        }
    }

    #region  Method
    /// <summary>
    /// Bind Data to GridView
    /// </summary>
    private void BindGridView()
    {
        try
        {
            List<ORD.CategorySummary> ListObj = Categories.GetProductCountData();

            if (ListObj != null)
            {
                if (ListObj.Count >= 1)
                {
                    gvProductCount.DataSource = ListObj;
                    gvProductCount.DataBind();
                }
            }
        }
        catch (Exception ex)
        {
            throw new Exception(ex.Message);
        }
    }

    #endregion
}
Run the Project.
Full .ASPX Code
<%@ Page Language="C#" AutoEventWireup="true" CodeFile="Default.aspx.cs" Inherits="_Default" %>

<!DOCTYPE html>

<html xmlns="http://www.w3.org/1999/xhtml">
<head runat="server">
    <title></title>
</head>
<body>
    <form id="form1" runat="server">
    <div>
        <asp:GridView ID="gvProductCount" runat="server" AutoGenerateColumns="False" BackColor="White" BorderColor="#999999" BorderStyle="Solid" BorderWidth="1px" CellPadding="3" ForeColor="Black" GridLines="Vertical">
            <AlternatingRowStyle BackColor="#CCCCCC" />
            <Columns>
                <asp:BoundField DataField="CategoryName" HeaderText="Category Name" />
                <asp:BoundField DataField="ProductCount" HeaderText="ProductCount" />
            </Columns>
            <FooterStyle BackColor="#CCCCCC" />
            <HeaderStyle BackColor="Black" Font-Bold="True" ForeColor="White" />
            <PagerStyle BackColor="#999999" ForeColor="Black" HorizontalAlign="Center" />
            <SelectedRowStyle BackColor="#000099" Font-Bold="True" ForeColor="White" />
            <SortedAscendingCellStyle BackColor="#F1F1F1" />
            <SortedAscendingHeaderStyle BackColor="#808080" />
            <SortedDescendingCellStyle BackColor="#CAC9C9" />
            <SortedDescendingHeaderStyle BackColor="#383838" />
        </asp:GridView>
    </div>
    </form>
</body>
</html>
Output

Click on Image for better view.
Download
Download Source Code